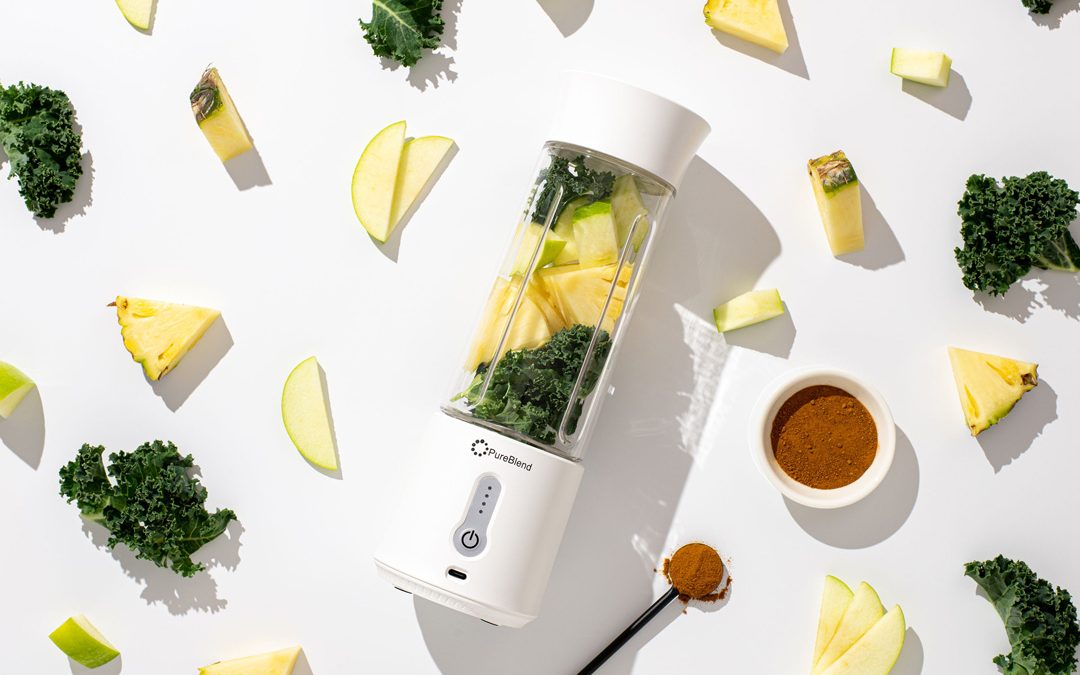
Would you like to be able to create the perfect flatlay but don’t know where to start? While it can look easy, it really is an art form to be able to style your products in a visually pleasing way.
Flatlay style photography is very popular among fashion, skincare, beauty, and lifestyle brands.
To get you started, here are seven tips for creating the perfect flatlay.
1. Select a theme
What is the purpose of your flatlay? What are you trying to communicate? Each time you create a flatlay it’s an opportunity to tell a story.
You might decide to create an image showing the key ingredients of your product or show your product in use (e.g. products spilling out of a handbag).
It’s important to have a theme otherwise it will become a random selection of items to shoot with no key message.

2. Choose the hero
Now that you have your theme, you need to select the hero of your shot.
If you are creating the ‘what’s in my handbag’ shot, then your product is the hero (if you sell bags, the bag is the hero and if you sell cosmetic or skincare products, then they will be the hero).
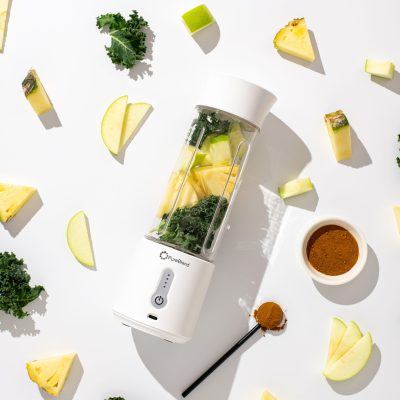
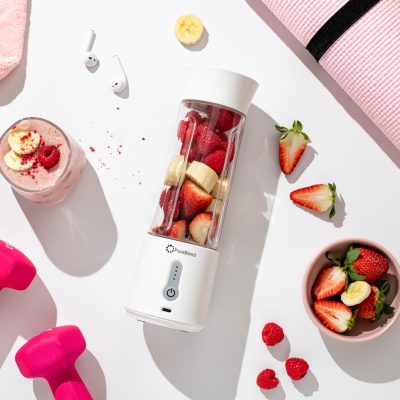
In the image below, the portable blender is the hero.
3. Gather your props
Select props that complement your theme. For example, if you are shooting a ‘what’s in my handbag?’ style of shot, then you can add things like cosmetics, a mobile phone, skincare products, a notebook, a pen, and more.
If you are shooting the key ingredients in your product, think about whether these are in season and whether you can source them easily.
You don’t need to spend a fortune on props. You can use everyday items found in your home. Magazines, jewellery, stationery items, mugs, sunglasses, scarves, and candles, are all handy props.

4. Decide on a background
Once you have your items, then you need to work out what background you would like to use.
Often for flatlay style shots, simple backgrounds are best.
You don’t want to have a busy background that will distract the viewer from the hero product.
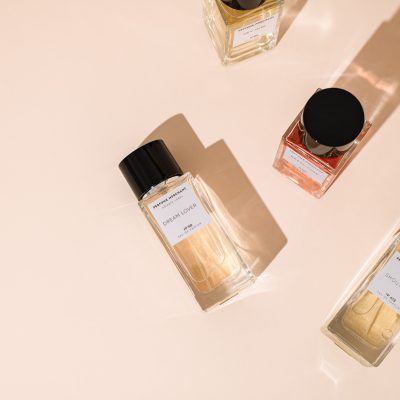
I regularly use a white table, plain-coloured backdrops, or a simple marble background for my flatlay-style images.
5. Create balance in your composition
Whether you lay out your products in an orderly way or a more organic way, you still need to look at whether your shot looks balanced.
Don’t crowd your hero product. Give it some breathing space.
You need to look at the colours of each prop. Maybe spread out similar colours so that they are not all clumped together.
Look at the shapes of your products. Do you have mostly circle shapes or rectangle shapes? Are they clashing or evenly spread out?
Don’t feel like you need to fill the entire frame with products. Negative space can work well, particularly when you want your hero product to stand out.
6. Think about what lighting you will use
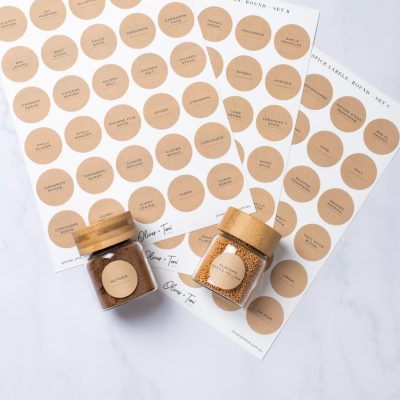
For most of my flatlay shots, I use studio lights. You will need to decide whether you want a soft light or a harsh light on your scene. Harsh, direct light will cause strong shadows and strong contrast which works well for certain products.
If you do use studio lights then make sure you stick to the one light source (either window or artificial) so that it doesn’t mess with your white balance.
7. Experiment with your angles
It can take some time to set up a flatlay shot so you want to make the most of it.
The most common angle to shoot a flatlay is from the bird’s eye view (top-down).
However, if you want to get more bang for your buck, then look at different angles. Even take a behind-the-scenes shot that you can use in your Instagram Stories.
Over time, you will find your style and also get a feel for what props work best. The key is to practise. Create layers and play around with shapes and angles. You will become a #flatlayqueen before you know it!
Over to you
What’s your best tip for flatlay photography? Let me know in the comments below.
Want to have a chat?
If you need a photographer to create visual content for your brand, then let’s chat!

